Containers are changing the way we prepare environments for production and development. They are required to emulate and obtain the same responses and features which are found in the target environment.
In this article, I will discuss how to build and push container images with Docker and Podman. It is important to note that both follow to the OCI Image Format Spec, thus compatibility is ensured.
If you are unfamiliar with Docker, Podman or have not read the following posts, I strongly suggest you to do so.
Command-line
The OCI Format spec describes the instructions list as copy, import images, how to execute, and health check, but the instructions to construct images are your responsibility.
Everything you’ve learned about shell scripts will help you master building images.

Your first image container contact
This time, we’ll create a basic BusyBox image that produces a greeting message, with easy-to-understand instructions.
FROM docker.io/busybox

CMD echo "Hello from container ($HOSTNAME)"
Remember to name the file as a Containerfile or Dockerfile.
I declare docker.io to provide the location of the image; if this prefix is not specified, podman will prompt you to select an image from docker.io, quay.io, and other repositories.
Building container image
We’ll build and execute a busybox-hello image. You can use Docker or Podman with the following command; the choice is yours.
docker build -t busybox-hello -f /tmp/Dockerfile
docker run --rm -it busybox-hello

# with podman

podman build -t busybox-hello -f /tmp/Containerfile
podman run --rm -it busybox-hello
You could see something like this: Hello from container (30b6120783de).
Is that it? Enough? No, I’ll provide something more feature-rich.
Static Web Server
If you’re a longtime reader, you might recognize me as an NGINX big fan. Yeap! So I’ll utilize this lightweight HTTP Server once more to offer some static content for us.
In the following container image, we will copy the assets to the image and configure the NGINX port to 5000.
FROM docker.io/bitnami/nginx:1.25

ENV NGINX_HTTP_PORT_NUMBER=5000

COPY ./assets/static-web-server/random-photos.html /app/index.html
I love ❤️ Bitnami (VMware) container images; the team does an excellent job of creating flexible images that are also non-root secure.
Following are some basic definitions of Docker instructions.
- FROM defines the basis image to stage, an image that might include multiple stages with various images, such as an Ubuntu base image to build the binary used by Alpine Image.
- **COPY **copy files or directories to the container image; you can also copy from a previous building stage.
- **ENV **defines an environment variable as globally.
Create the static HTML file required in the container example before starting the container.
- ./assets/static-web-server/random-photos.html
<!DOCTYPE html>
<html lang="en">
    <html>
    <head>
        <meta charset="UTF-8" />
        <title>Random Photos powered by Unsplash API</title>
        <style lang="text/css">
        body {
            margin: 0;
            background: #000;
            overflow: hidden;
        }
        img{
            width: 100%;
            height: calc(100vh);
            outline: 2rem solid #000;
            outline-offset: -2rem;
        }
        </style>
    </head>
    <body>
        <img src="https://source.unsplash.com/1600x900/?beach" />
    </body>
    </html>
</html>
The following command will build an run a container image that will listen on port 5000.
docker build -t nginx-static-example -f Dockerfile
docker run --rm -it -p 5000:5000 nginx-static-example

# with podman

podman build -t nginx-static-example -f Containerfile
podman run --rm -it -p 5000:5000 nginx-static-example

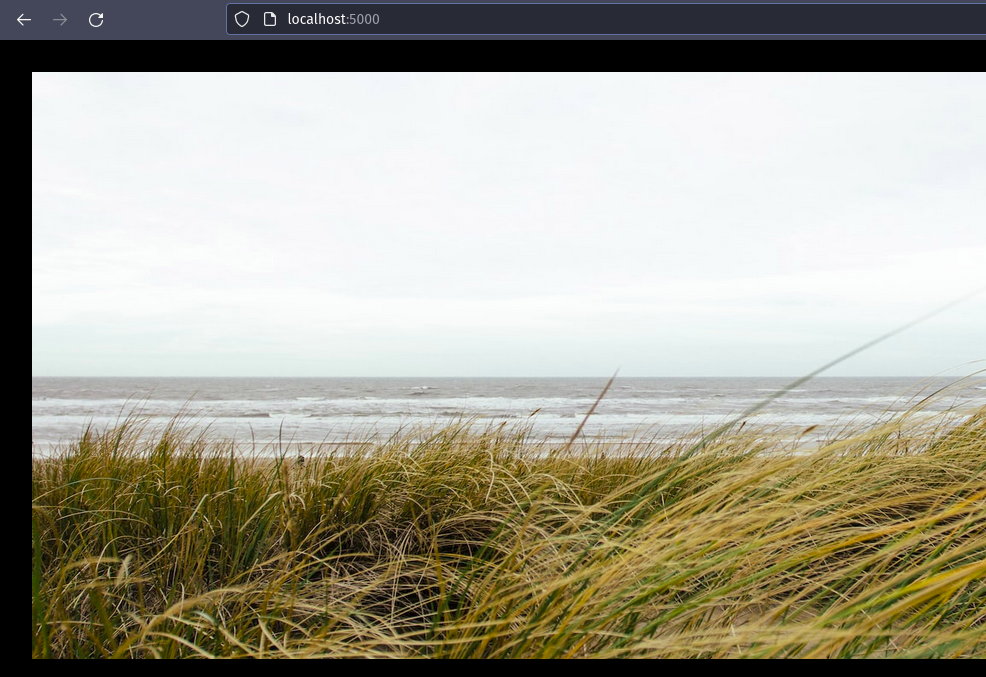
This simple example displays a random photo each time the website is loaded.
Publishing at DockerHub
The publish target will be DockerHub, but it could alternatively be Gitlab, Github, or your local Docker Registry.
DockerHub has an unlimited number of public images, however only one image may be private for free.
Firstly, run the following command to login to your CLI; if you do not have a user, you should create one.
docker login
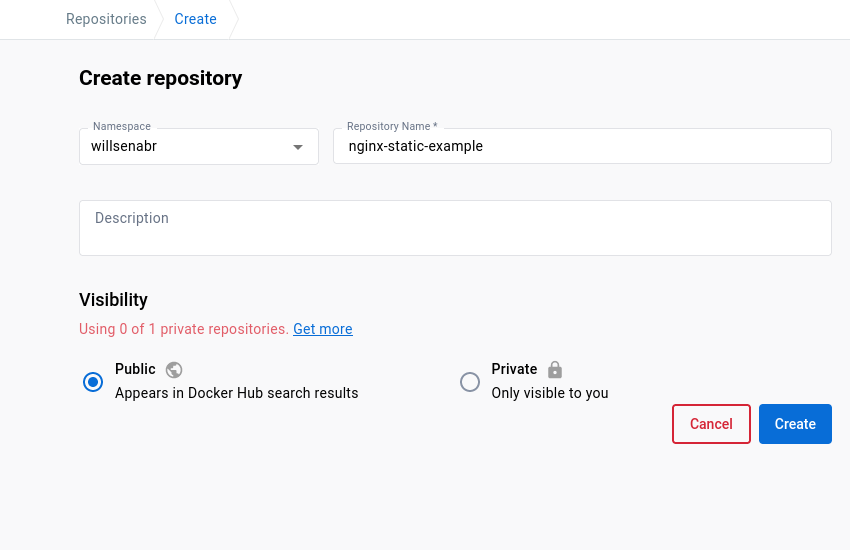
This time create a DockerHub container image repository, such as we did when we need to push codes at Github.
 After creating the repository, we may tag a container image with a certain version to have a historical version.
Replaces $DOCKER_USER with your DockerHub user.
docker tag nginx-static-example $DOCKER_USER/nginx-static-example:nightly
docker push $DOCKER_USER/nginx-static-example:nightly

# with podman

podman tag nginx-static-example $DOCKER_USER/nginx-static-example:nightly
podman push $DOCKER_USER/nginx-static-example:nightly
That’s all.
We built and published a container image to DockerHub, which we can now use with the following command.
# Remember to change this variable while testing the image.
DOCKER_USER=willsenabr

docker run --rm -it -p 5000:5000 $DOCKER_USER/nginx-static-example:nightly

# with podman

podman run --rm -it -p 5000:5000 $DOCKER_USER/nginx-static-example:nightly
More can be found on my Github repository. For build images, I made many mixed examples.
In the following sections, I will discuss the most significant instructions included in the OCI Format spec.
Keep your 🧠 kernel up to date, my brother.
See ya! God bless 🙏🏿 you now and every day.


